0rig0
Electron & Launch Pad
Electron & Launch Pad
FREE INSTRUCTIONS!
This is a digital download and NOT a physical product!
Couldn't load pickup availability
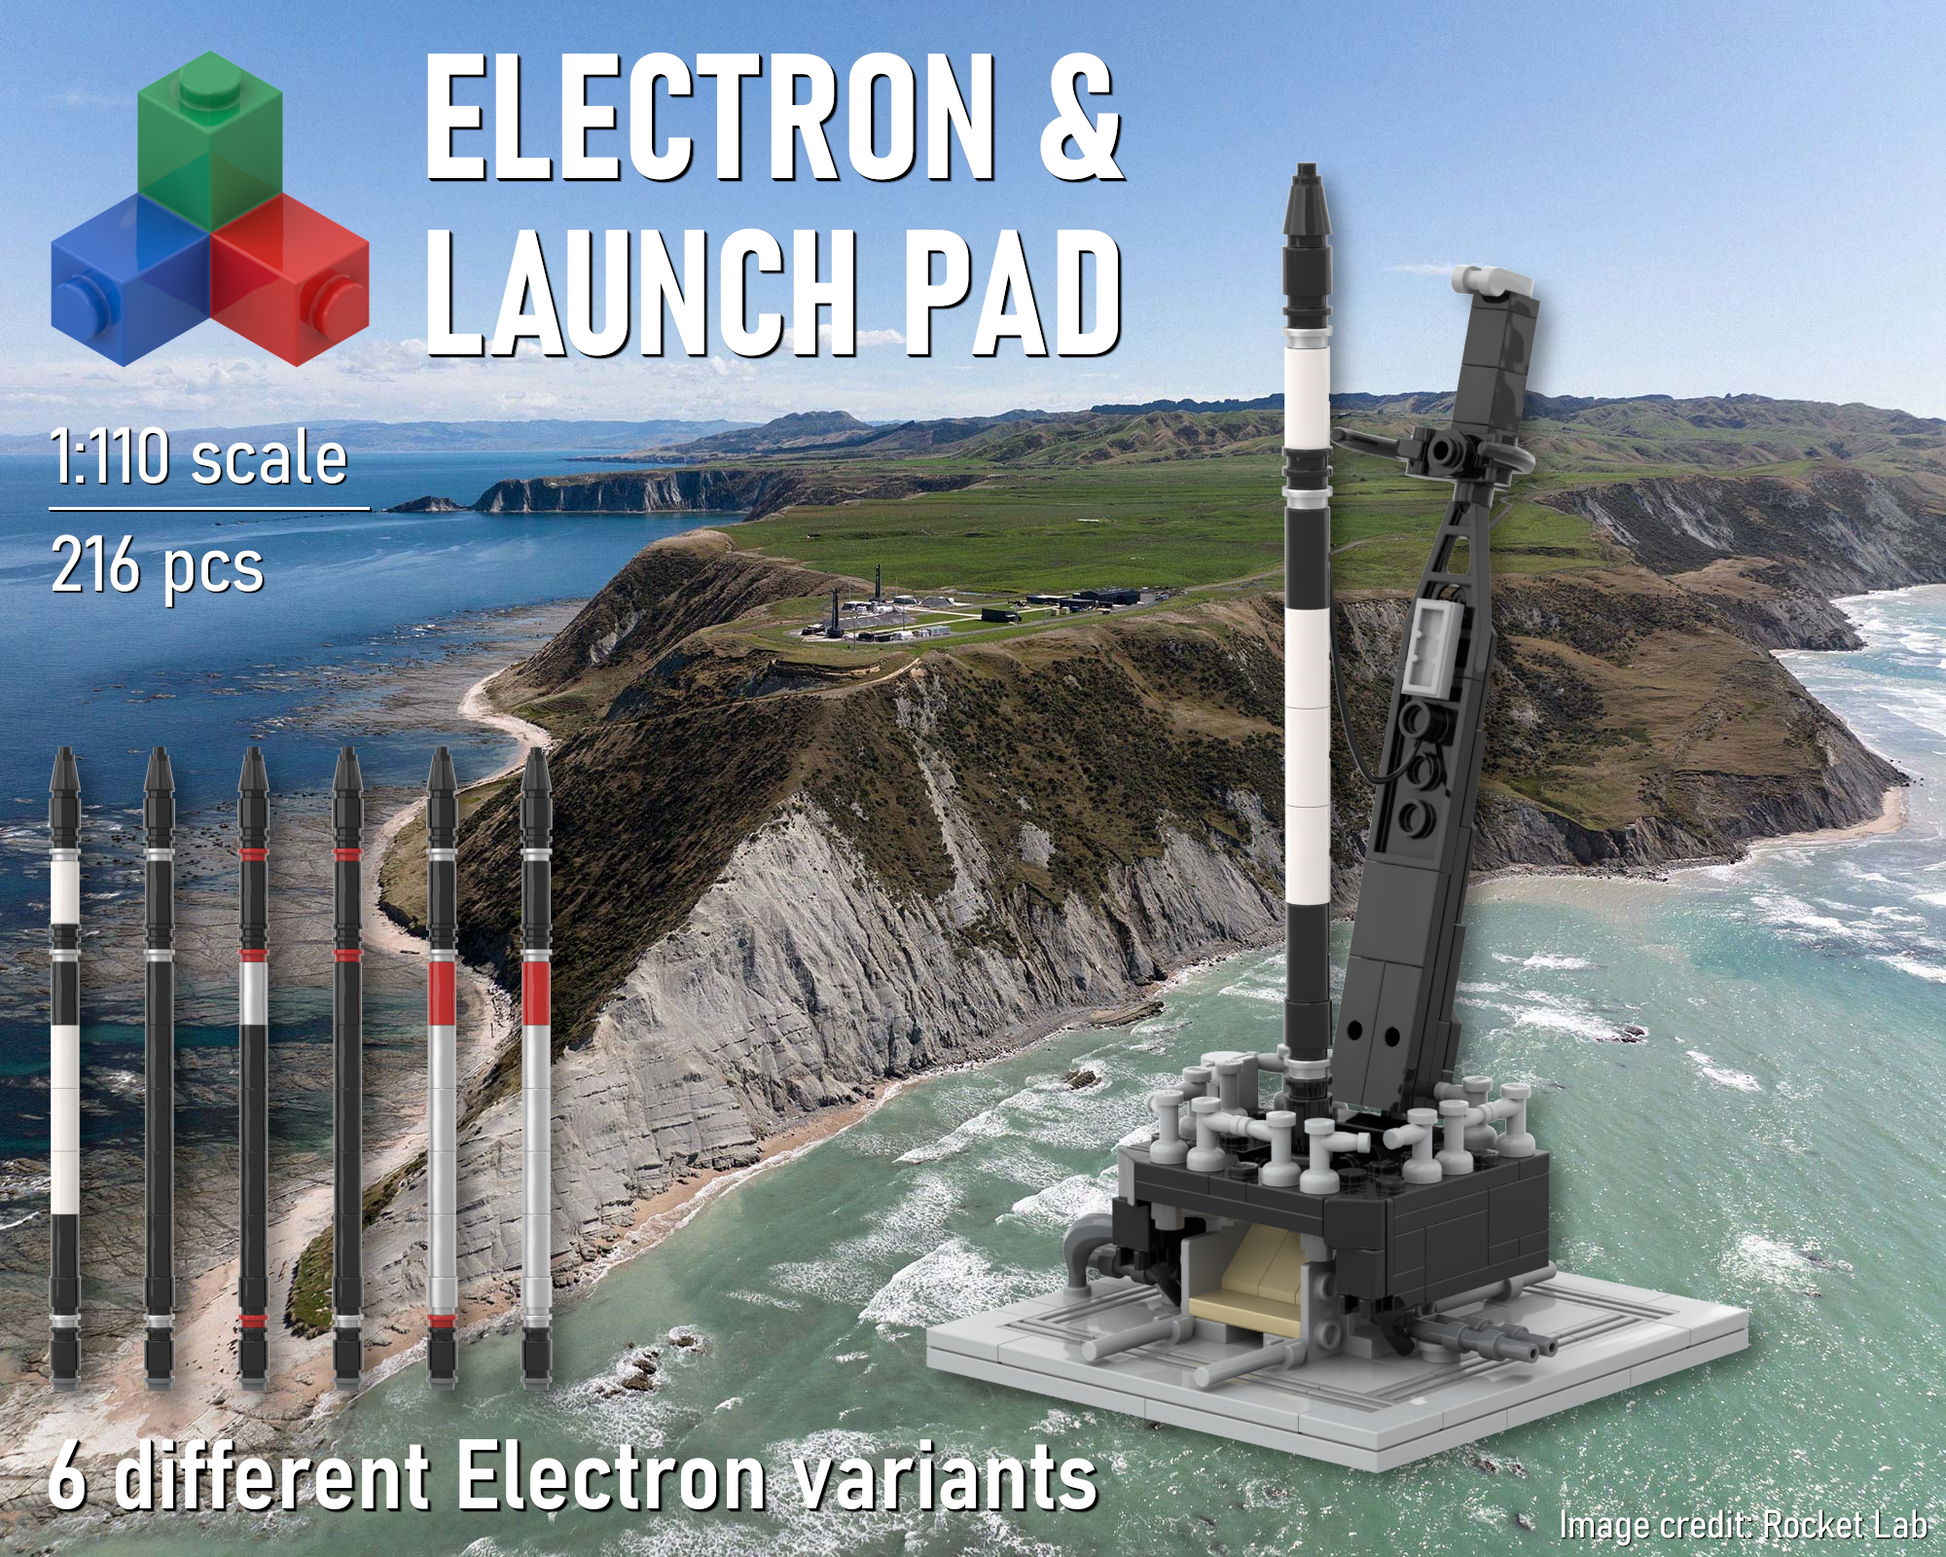
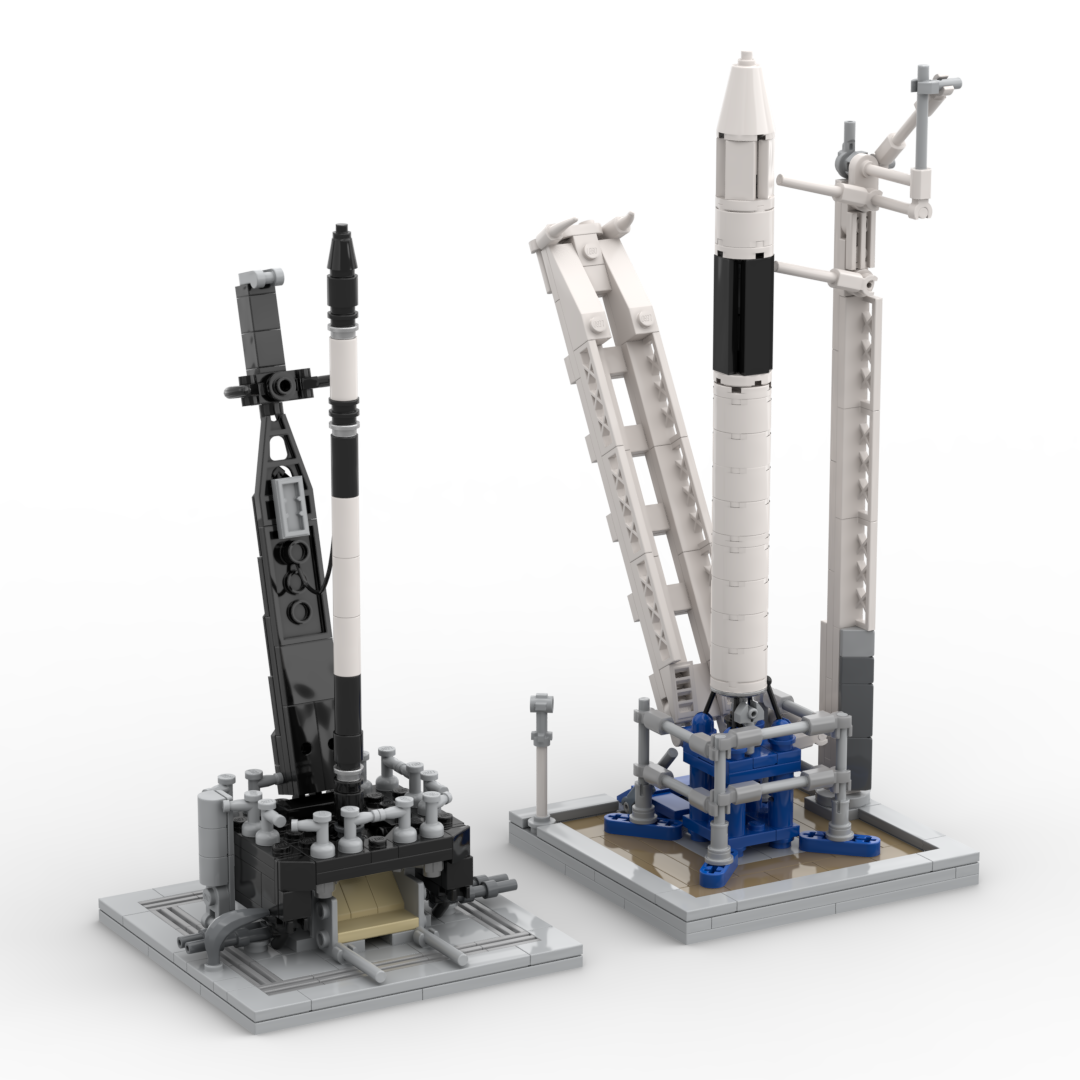
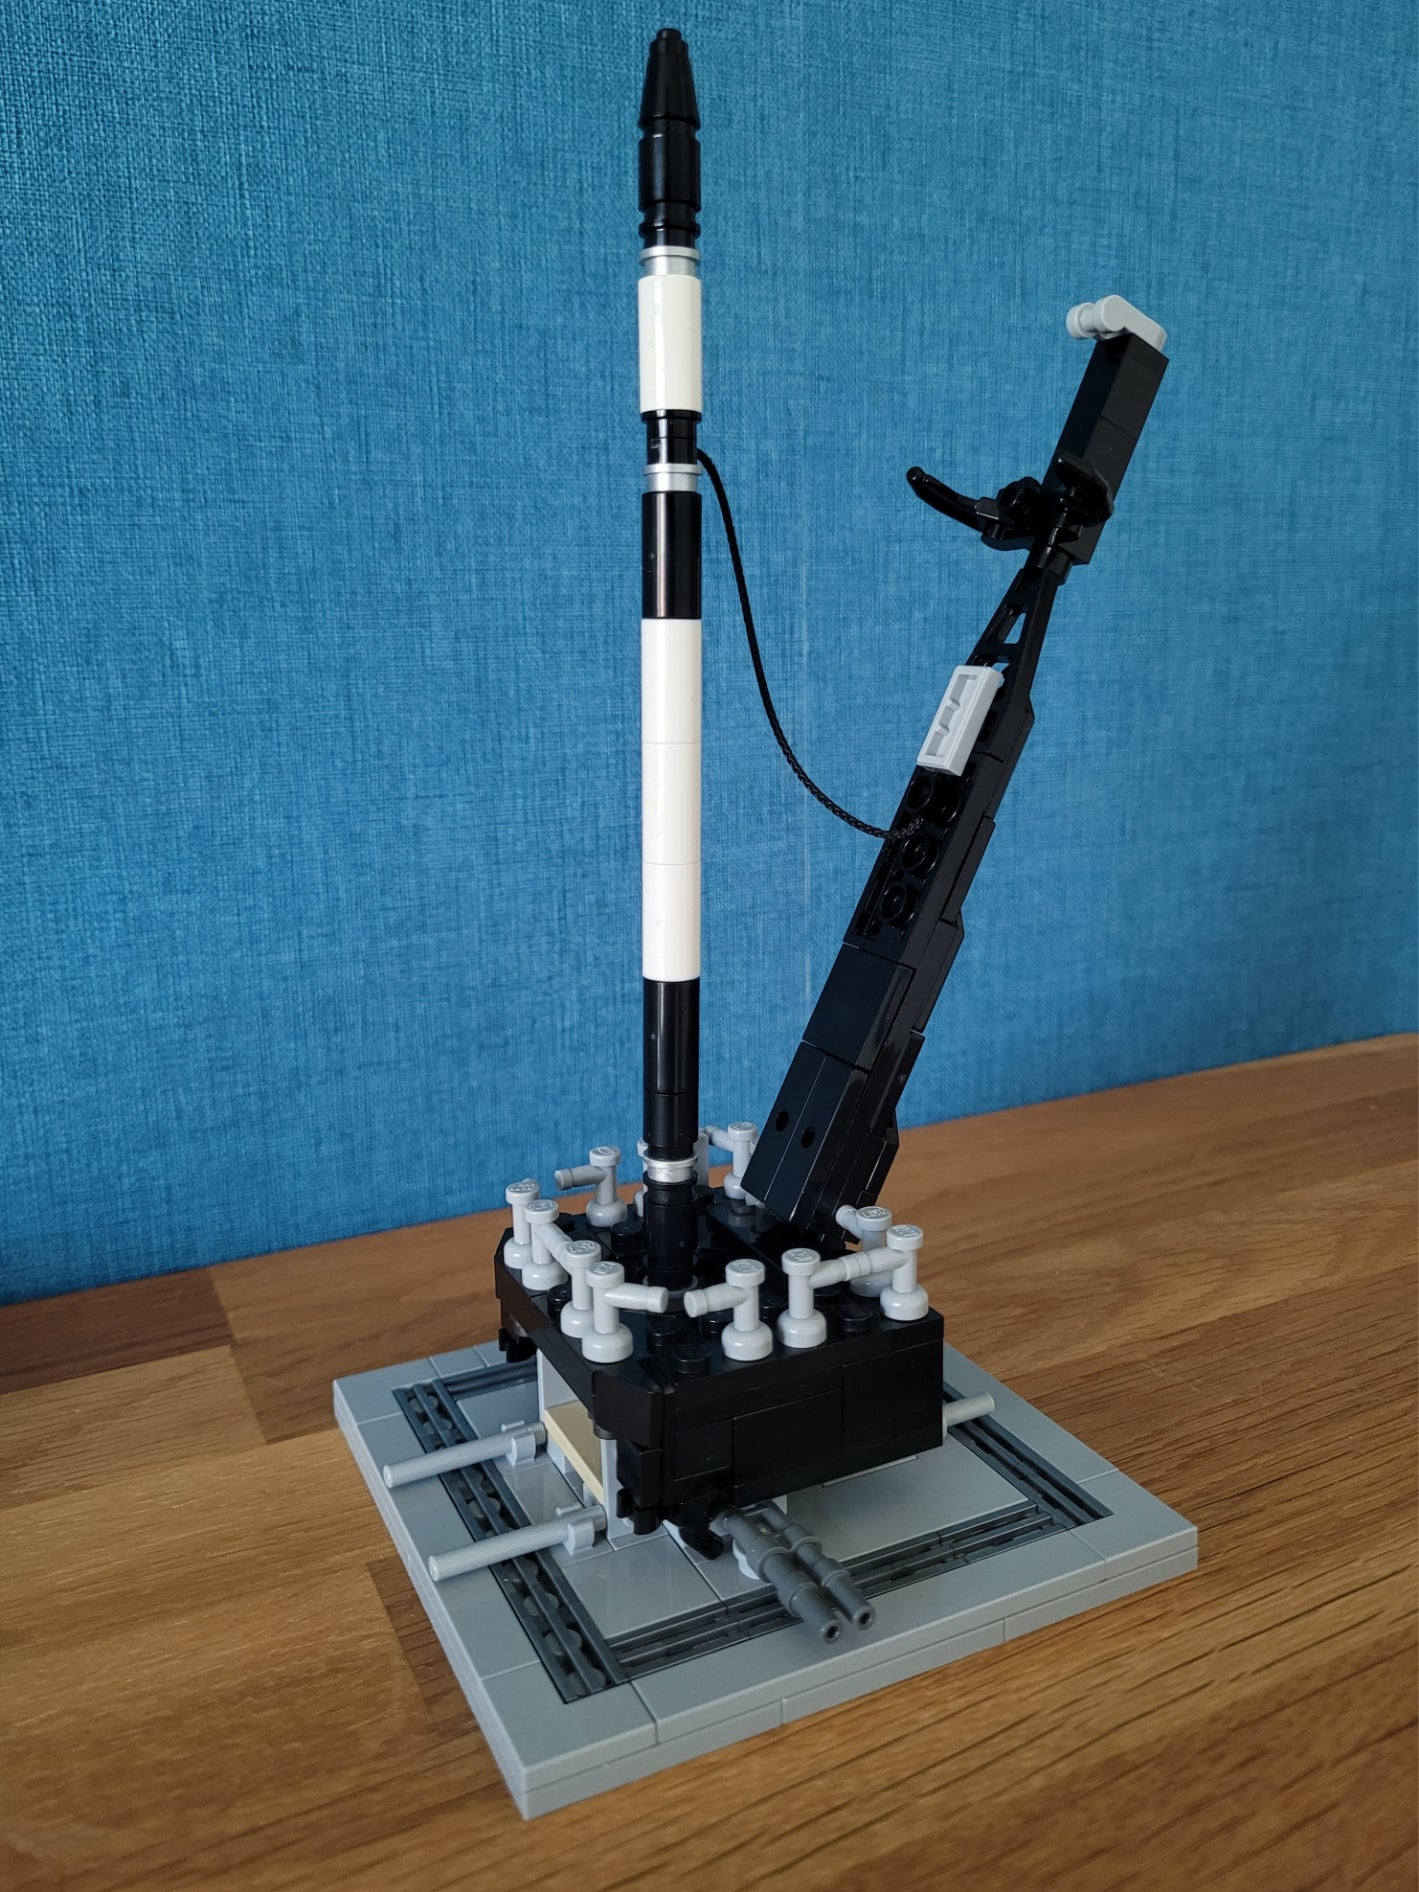
Build the launch pad and rocket to launch your own brick-built Electron model!
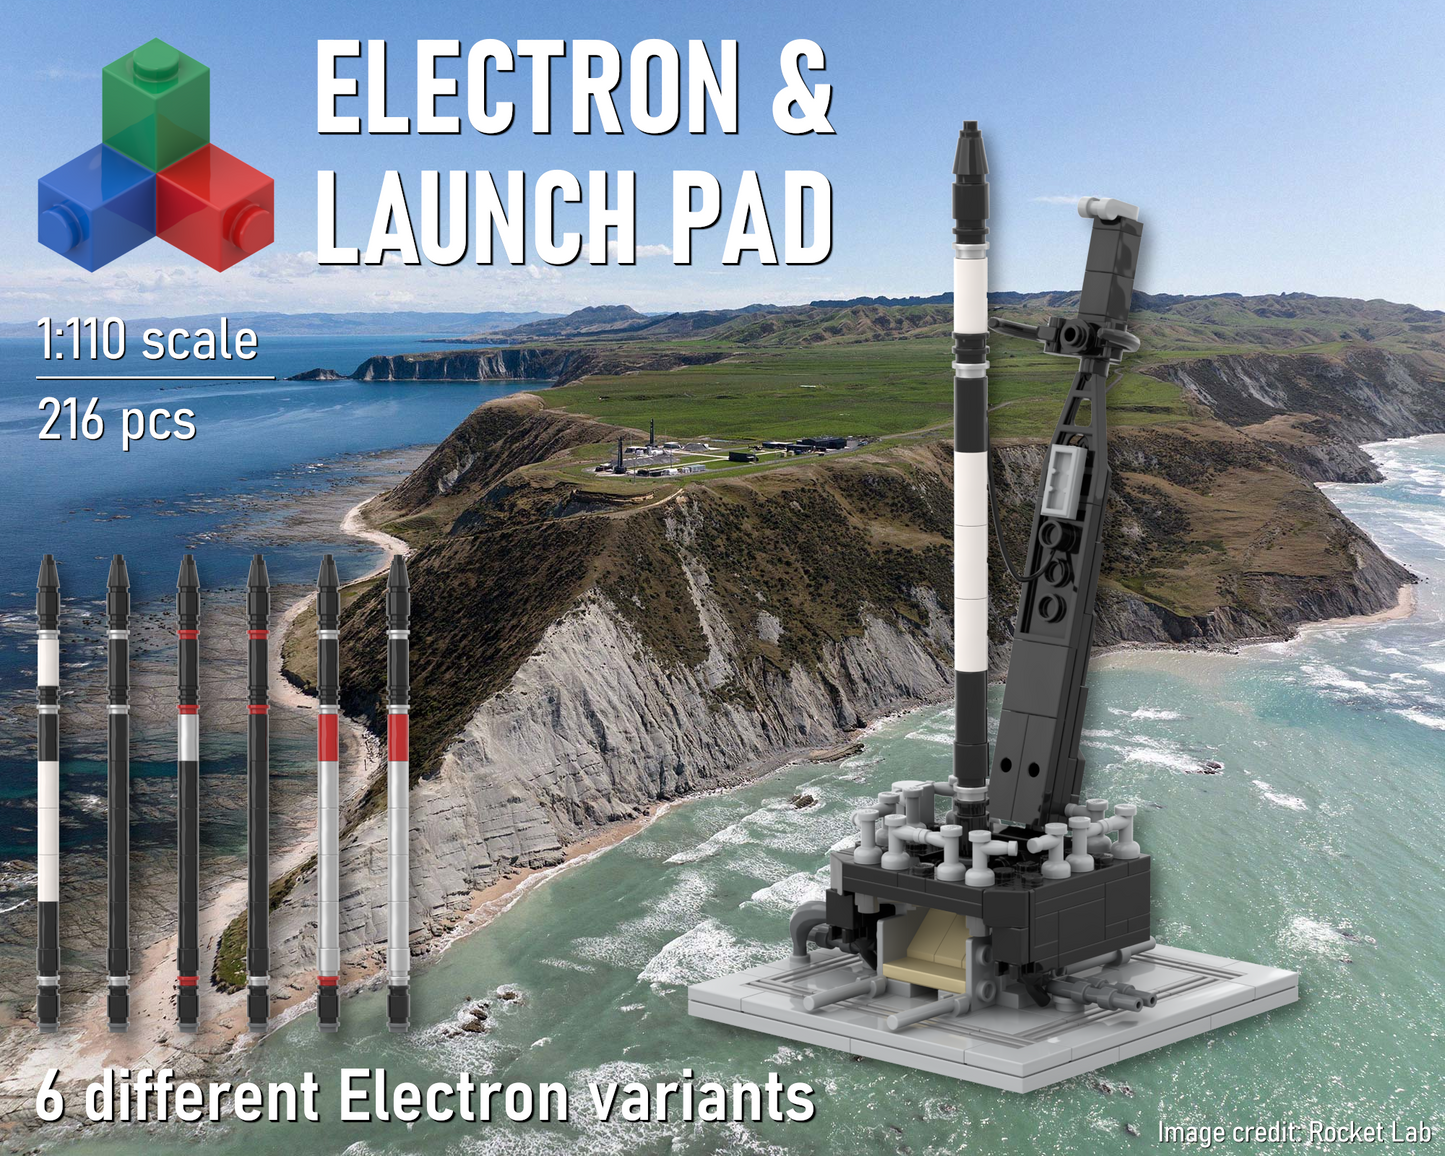
Standing 23 cm (9 in) tall, the Electron & Launch Pad model is built at 1:110 scale, the same scale as the LEGO® Saturn V set! Its small size means that it easily fits on a shelf or desk, and yet it still includes a bunch of scale-accurate details and functions. The default model consists of 212 pieces that cost around $25 and are bought separately (see the "How to buy the bricks" section below). In the "Variants" section you'll also find the part list to only build the expendable or reused rocket models.
The digital building instructions you'll receive for free are high-quality and easy to follow, even for less experienced builders.
The model features:
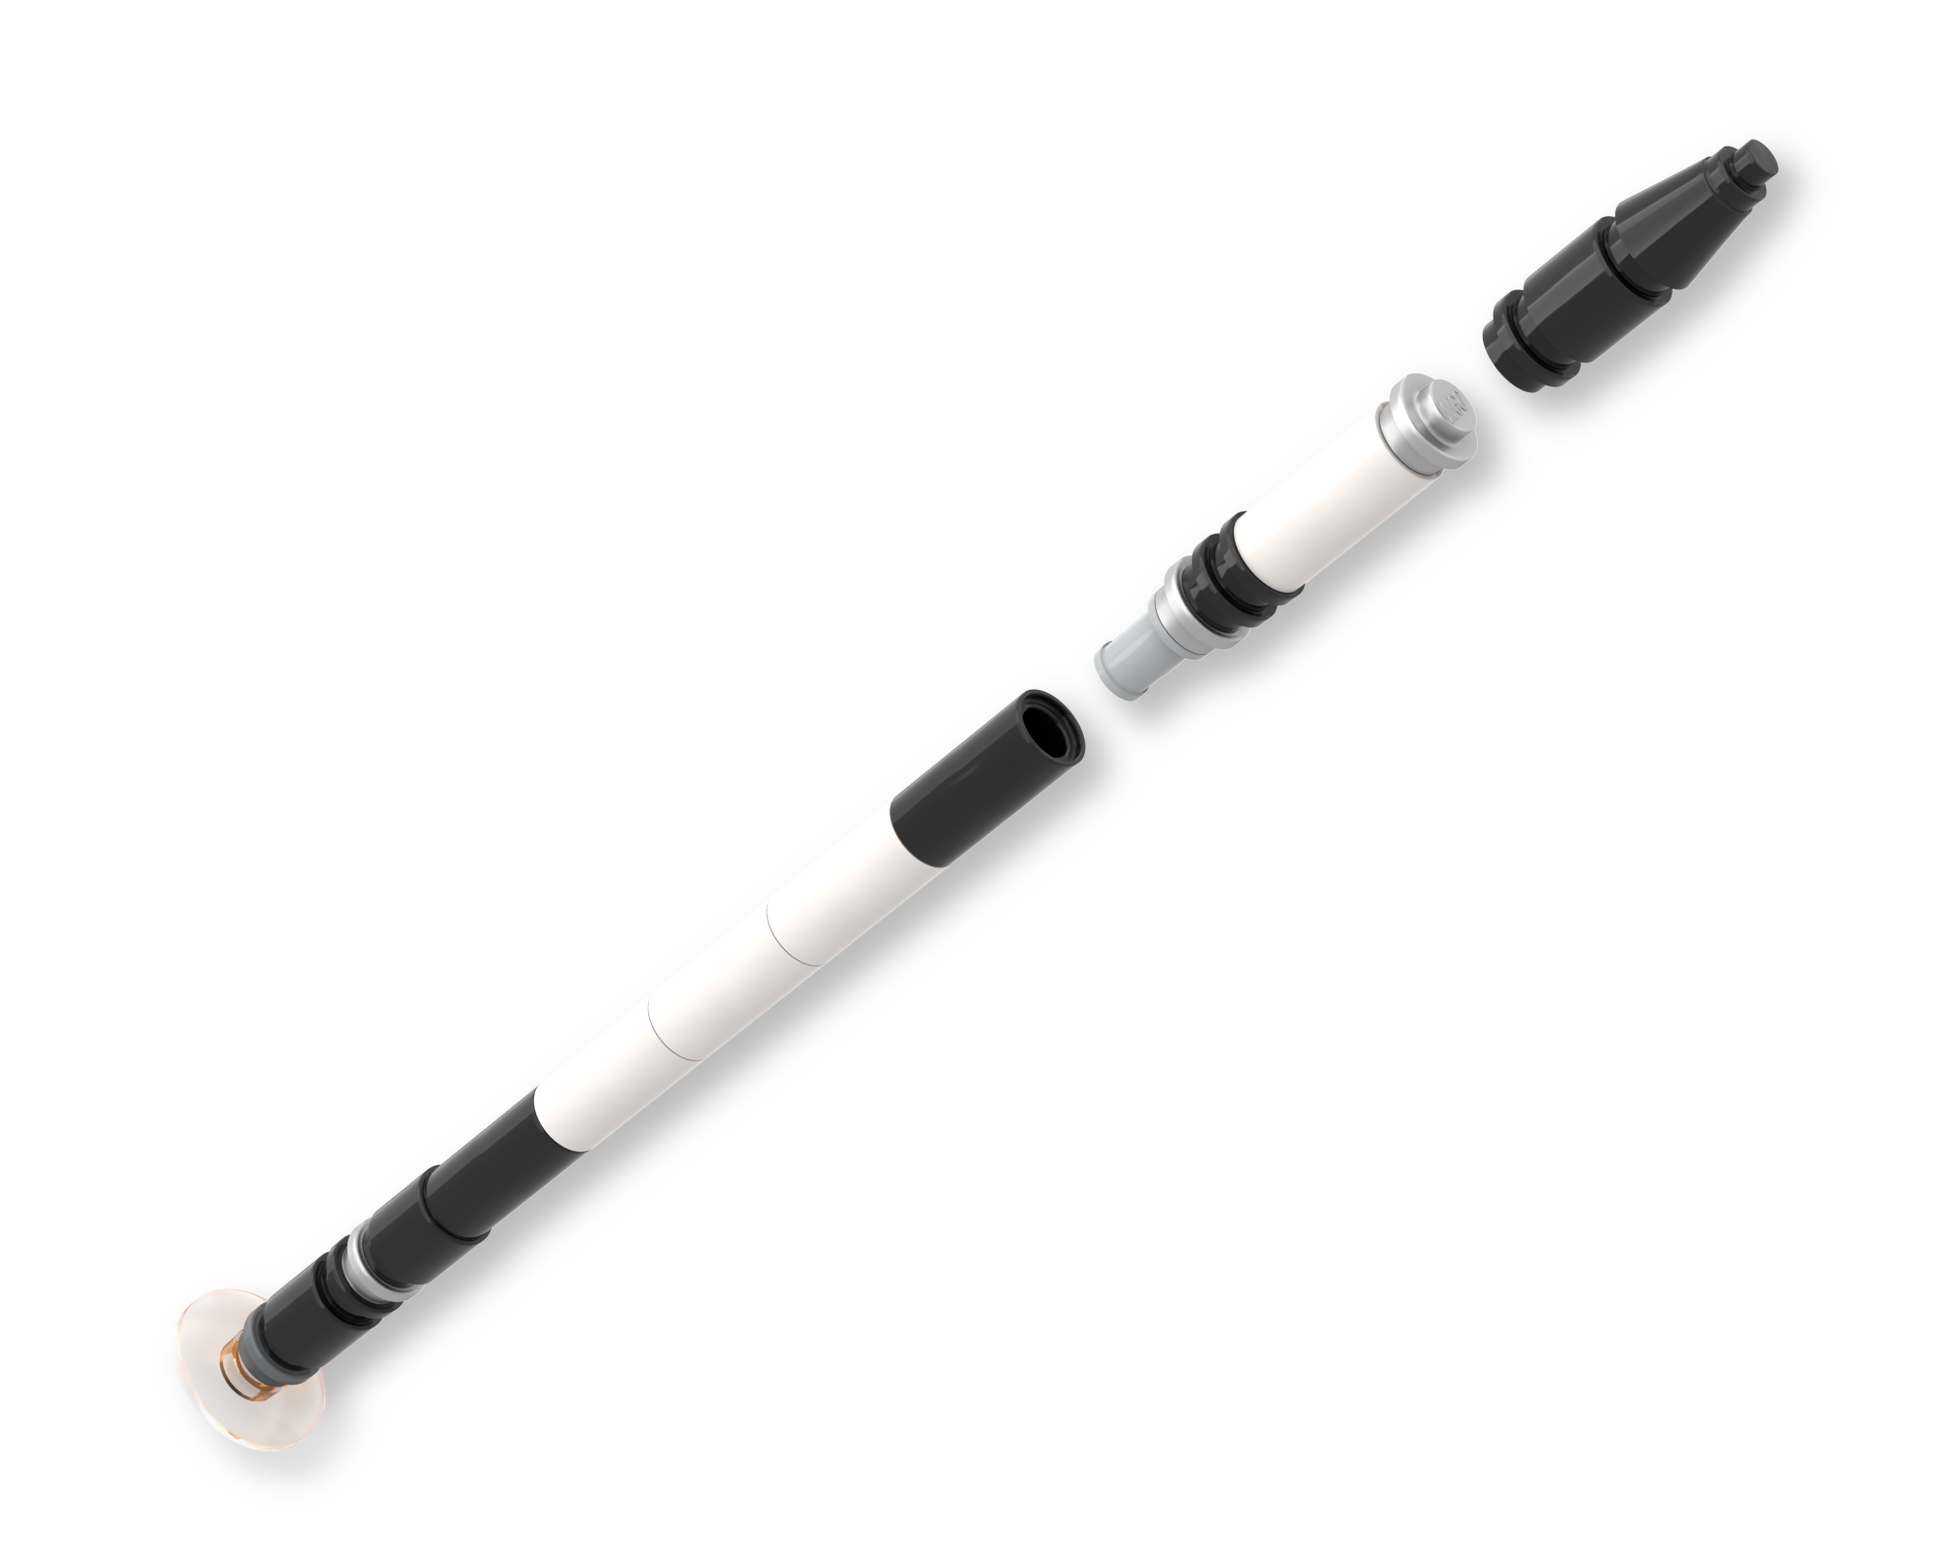
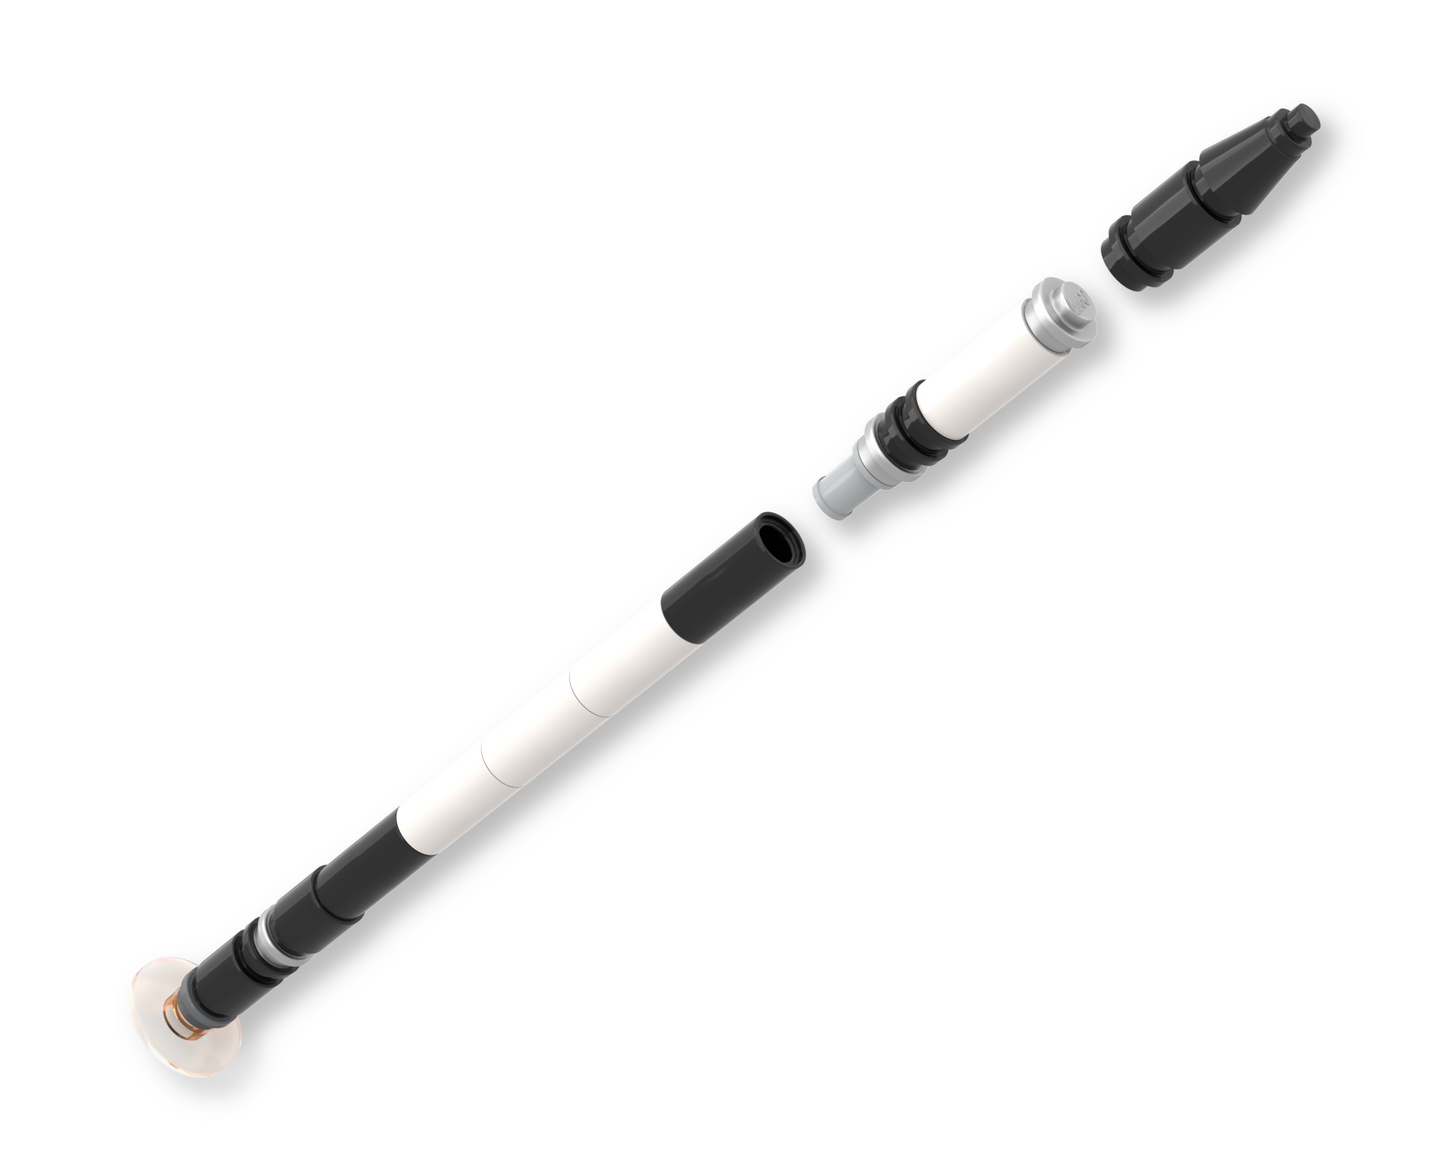
- Electron rocket with separating first and second stages, as well as a representation of the fairing.
- A launch pad design based on Māhia LC-1A, with a flame diverter, fuel lines, and representations of rails on which the launch pad and rocket are transported.
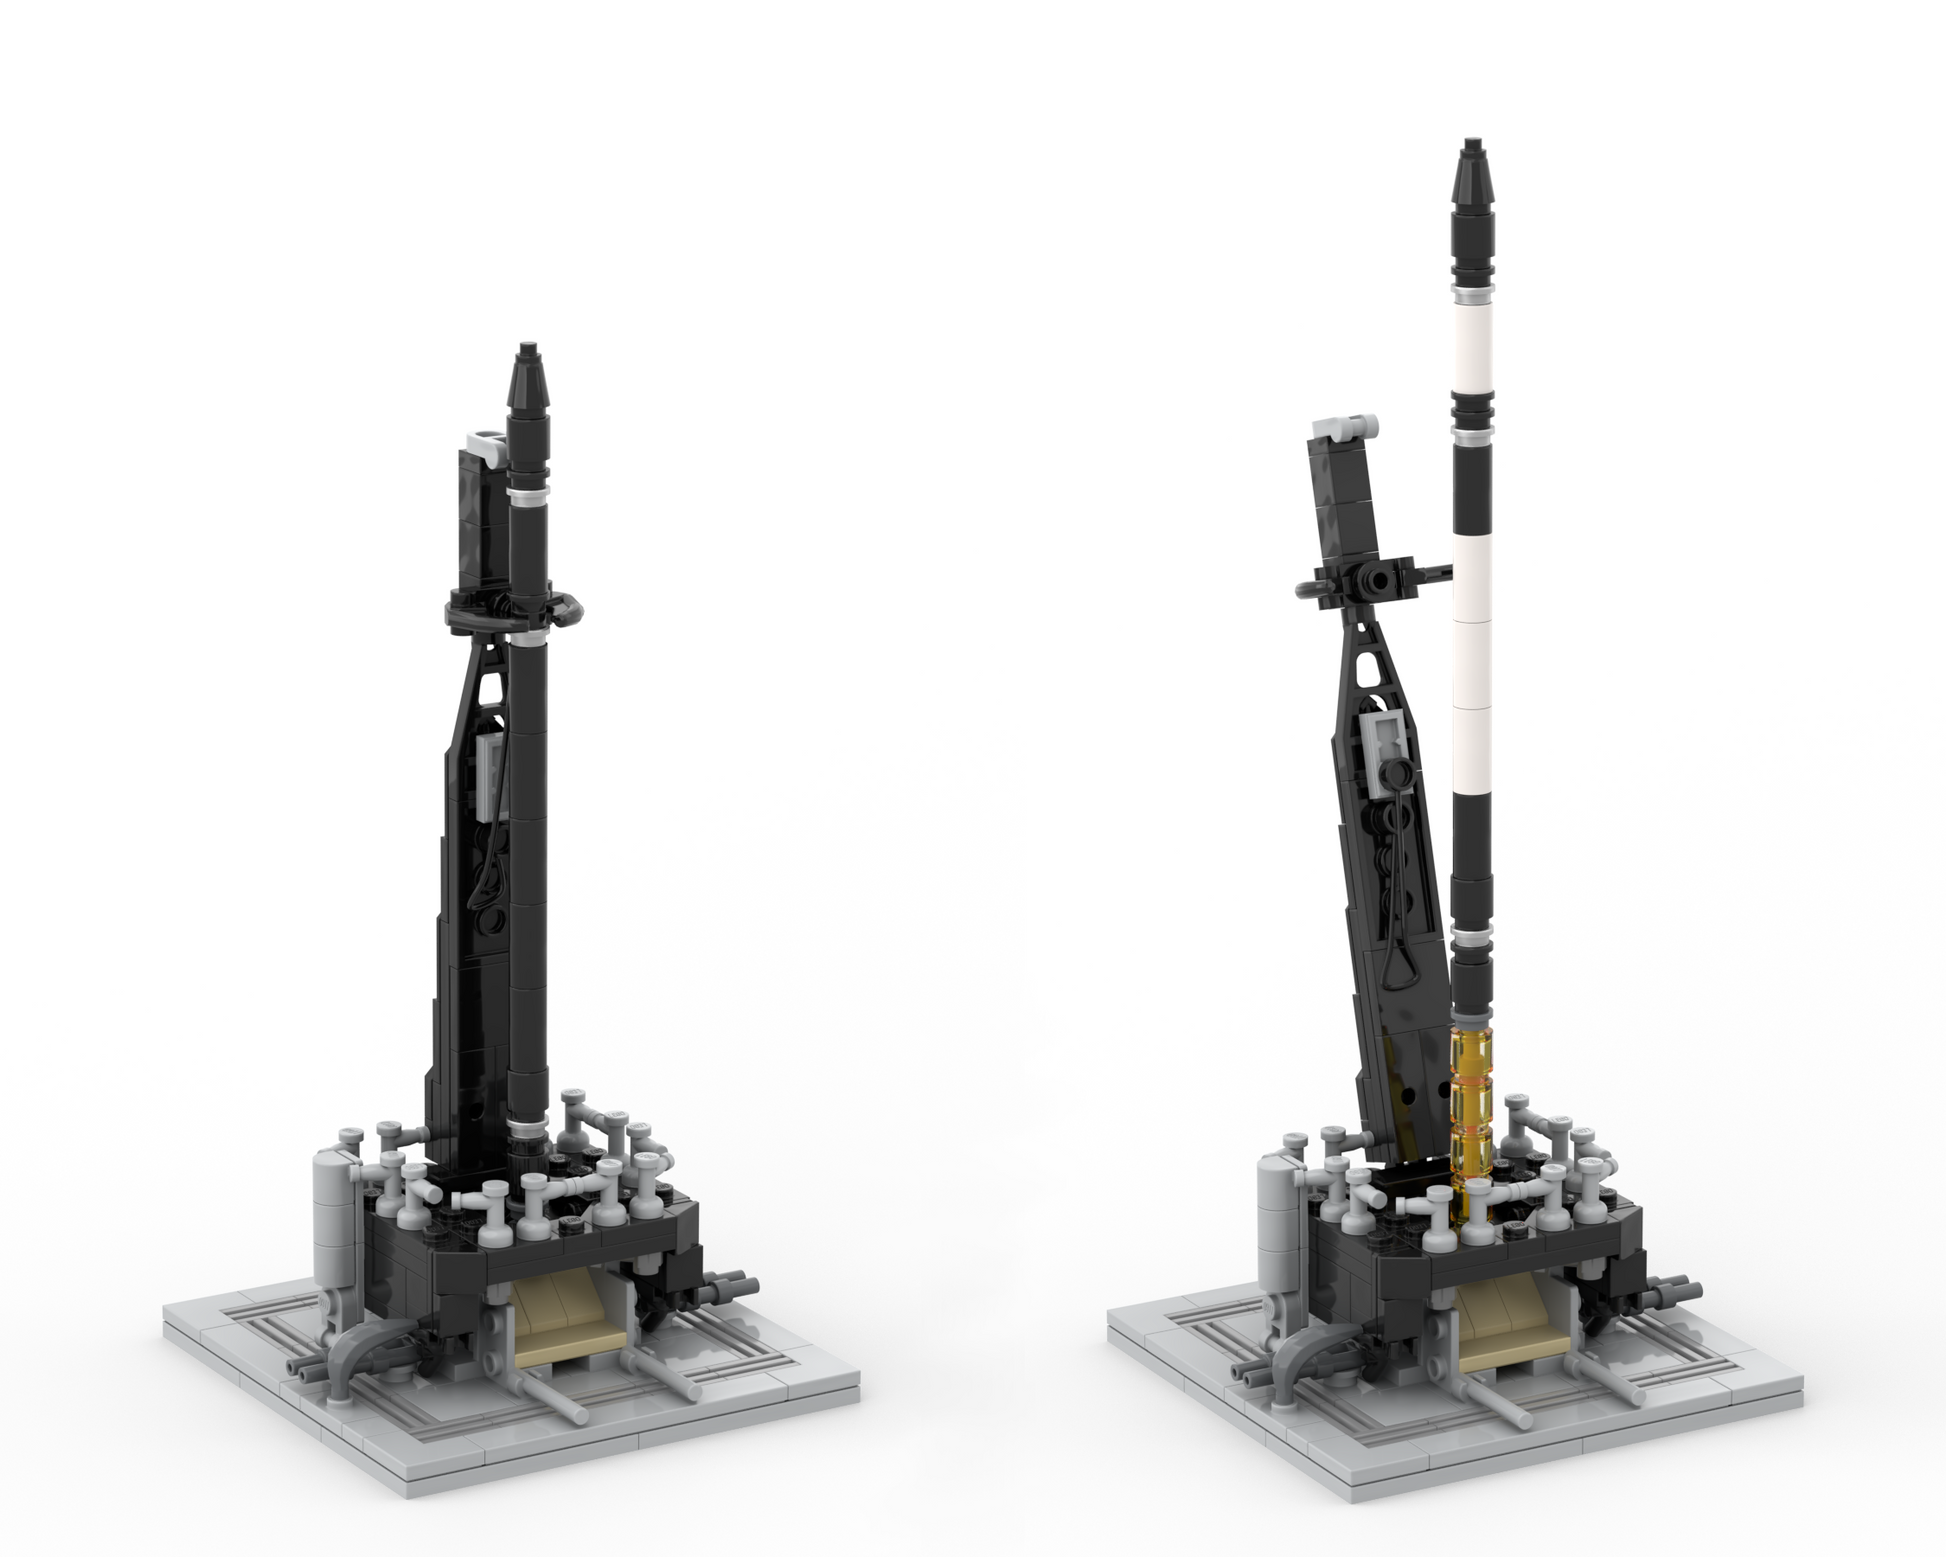
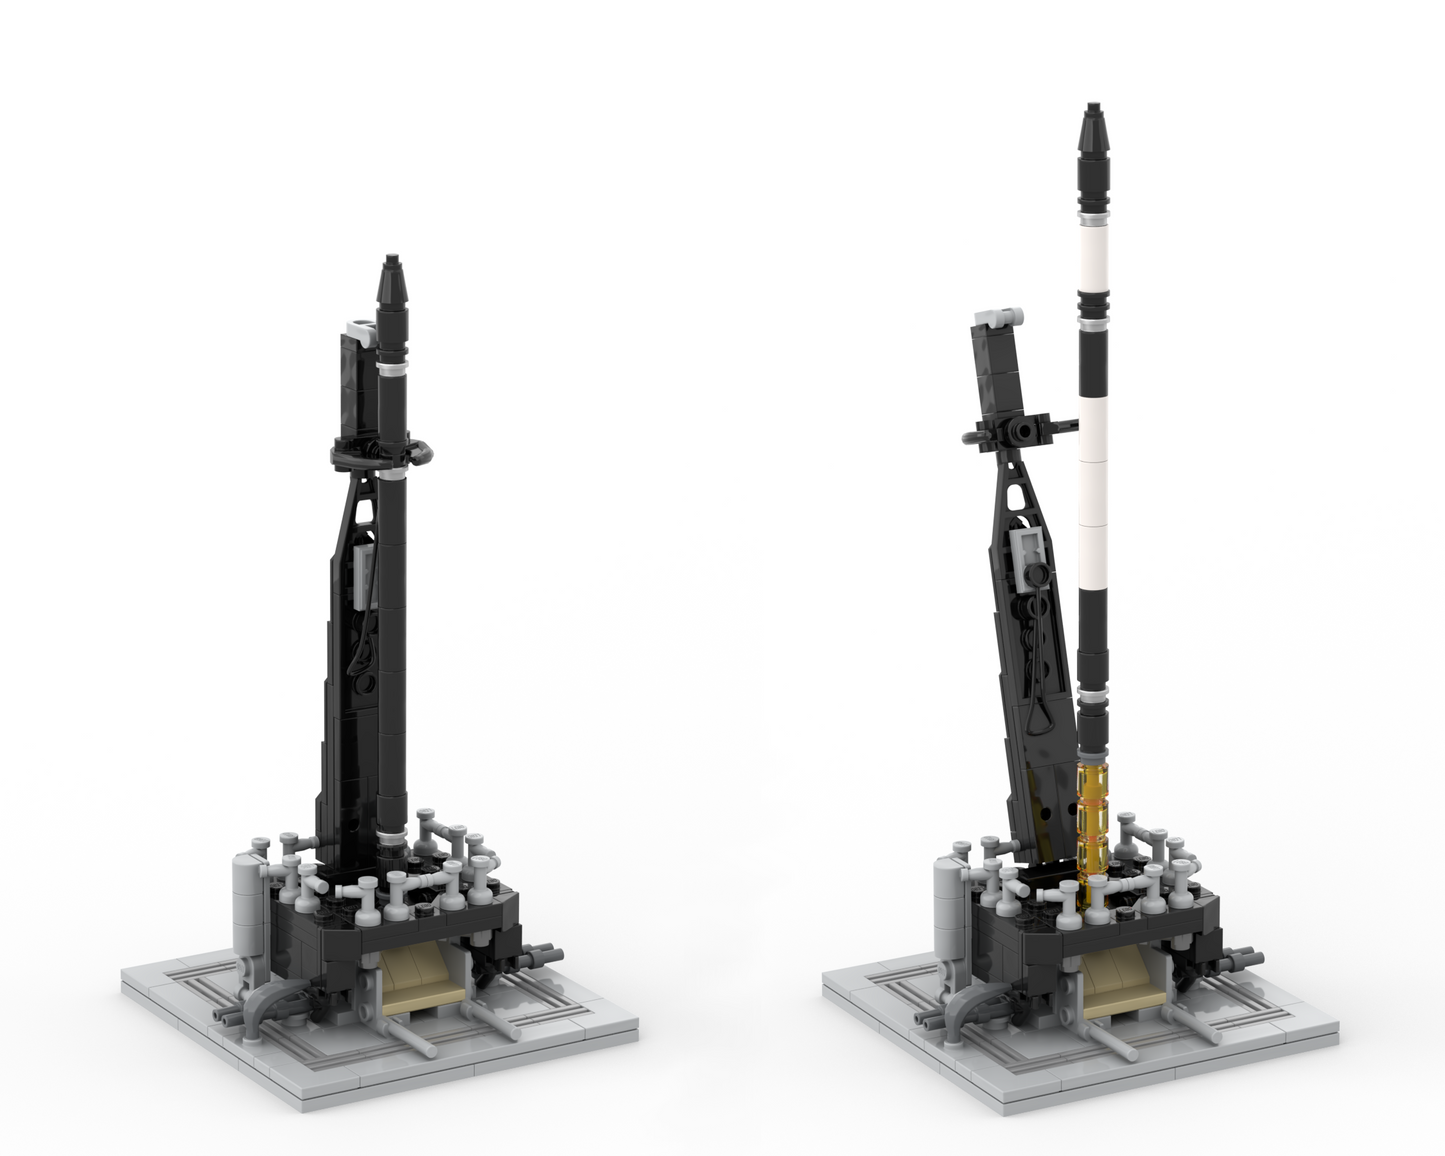
- A retractable strongback with support arms and an umbilical hose that can attach to the rocket.
- An included exhaust flame lets you display the rocket during liftoff.
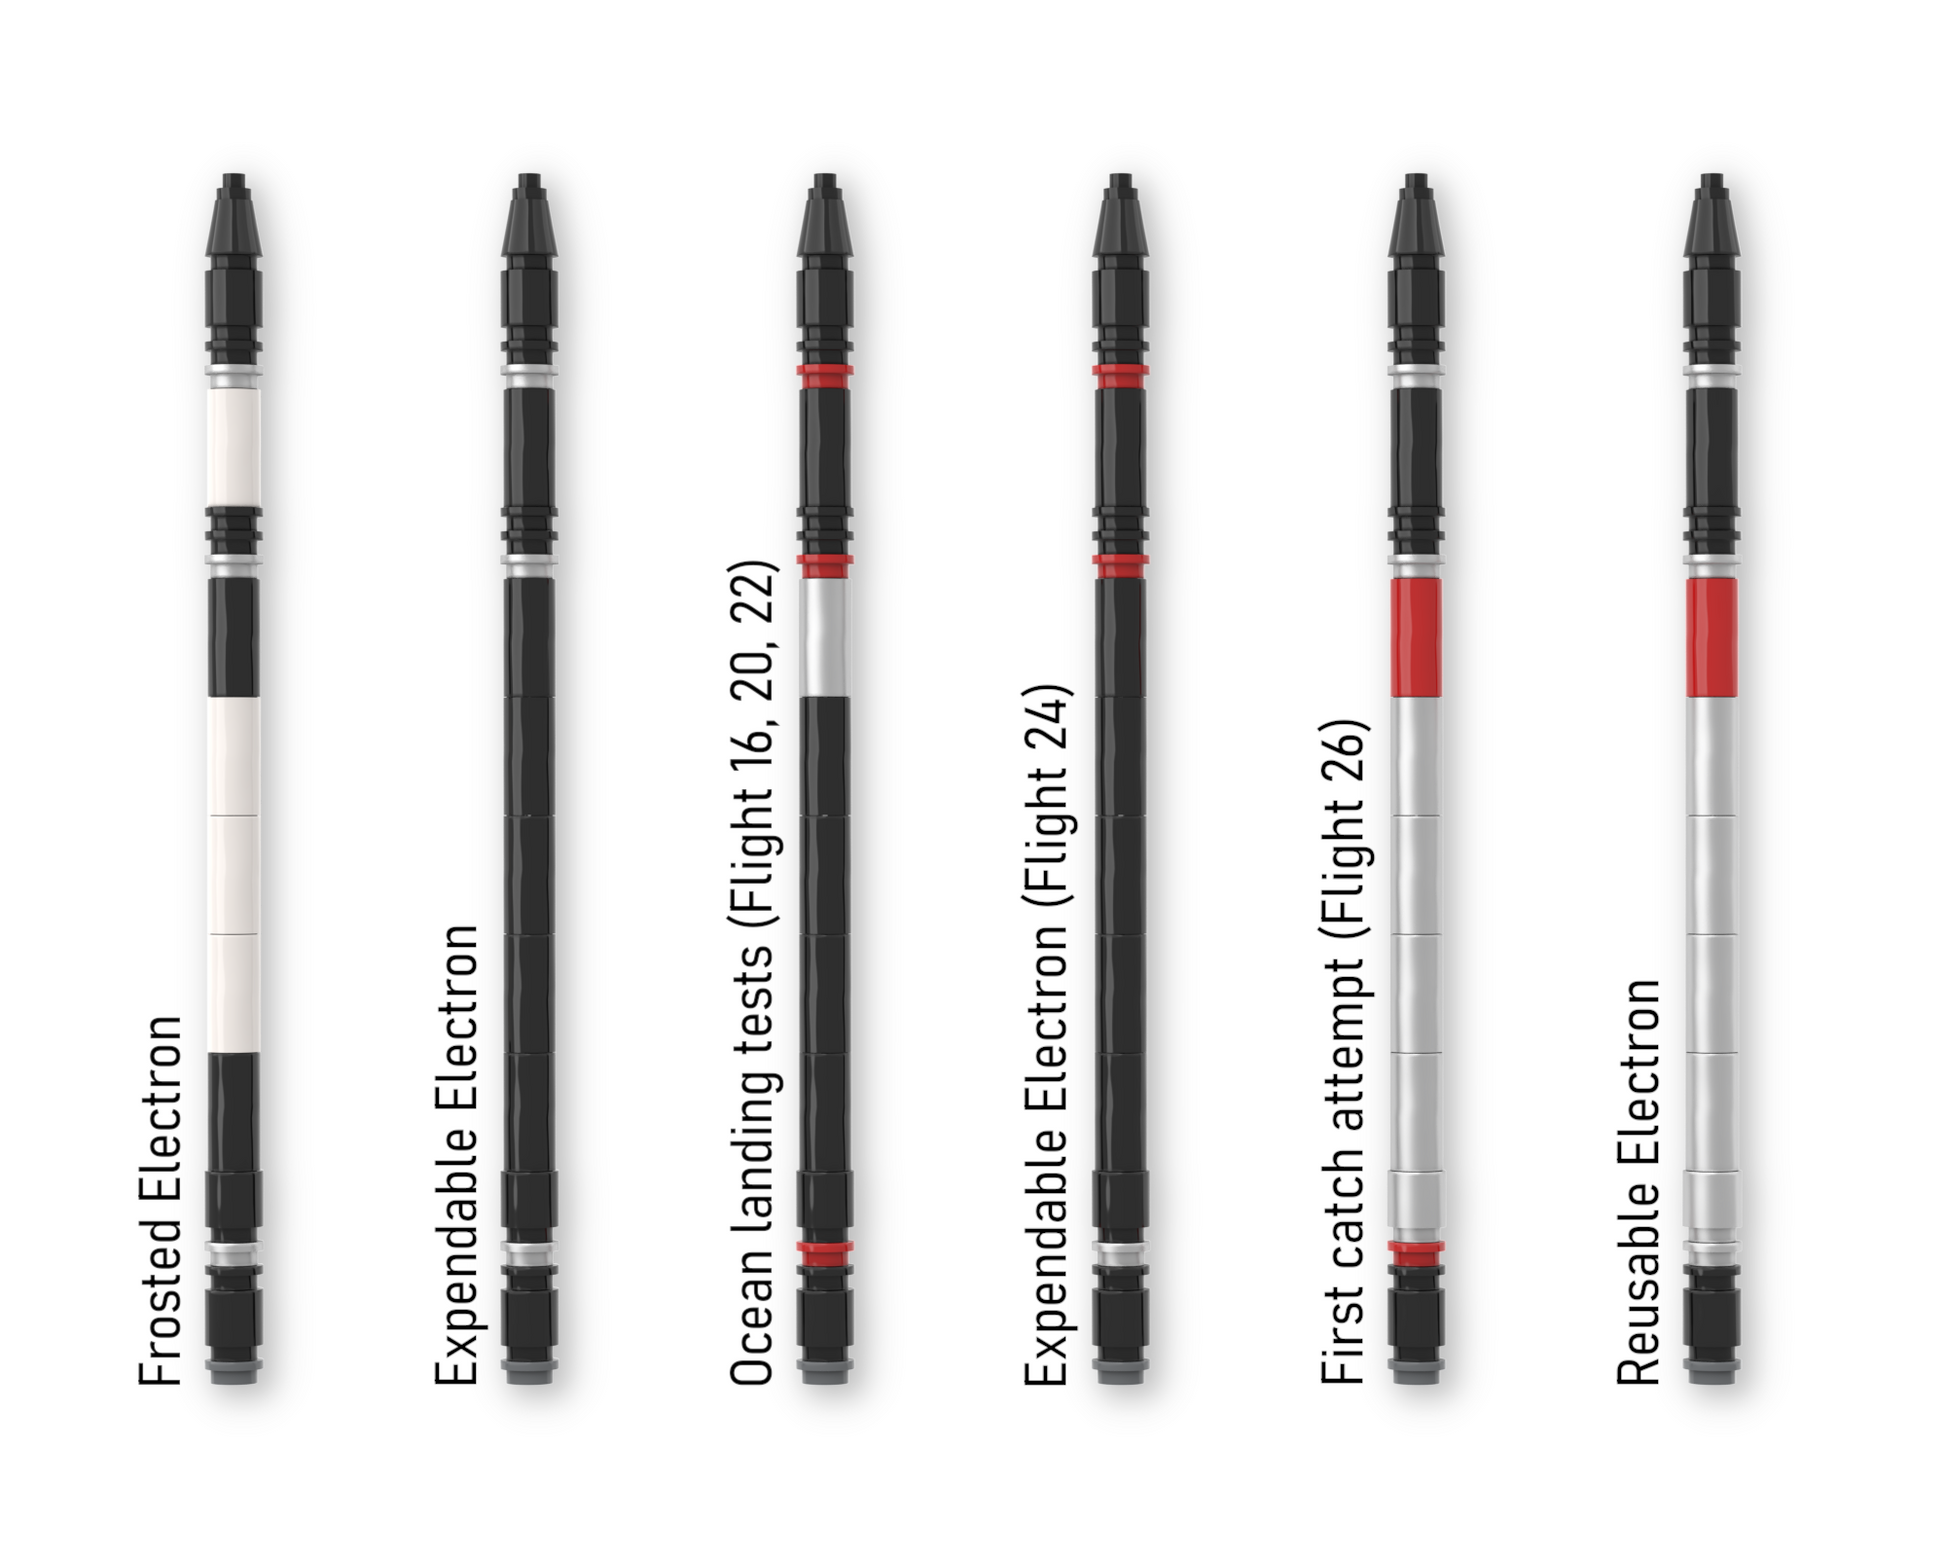
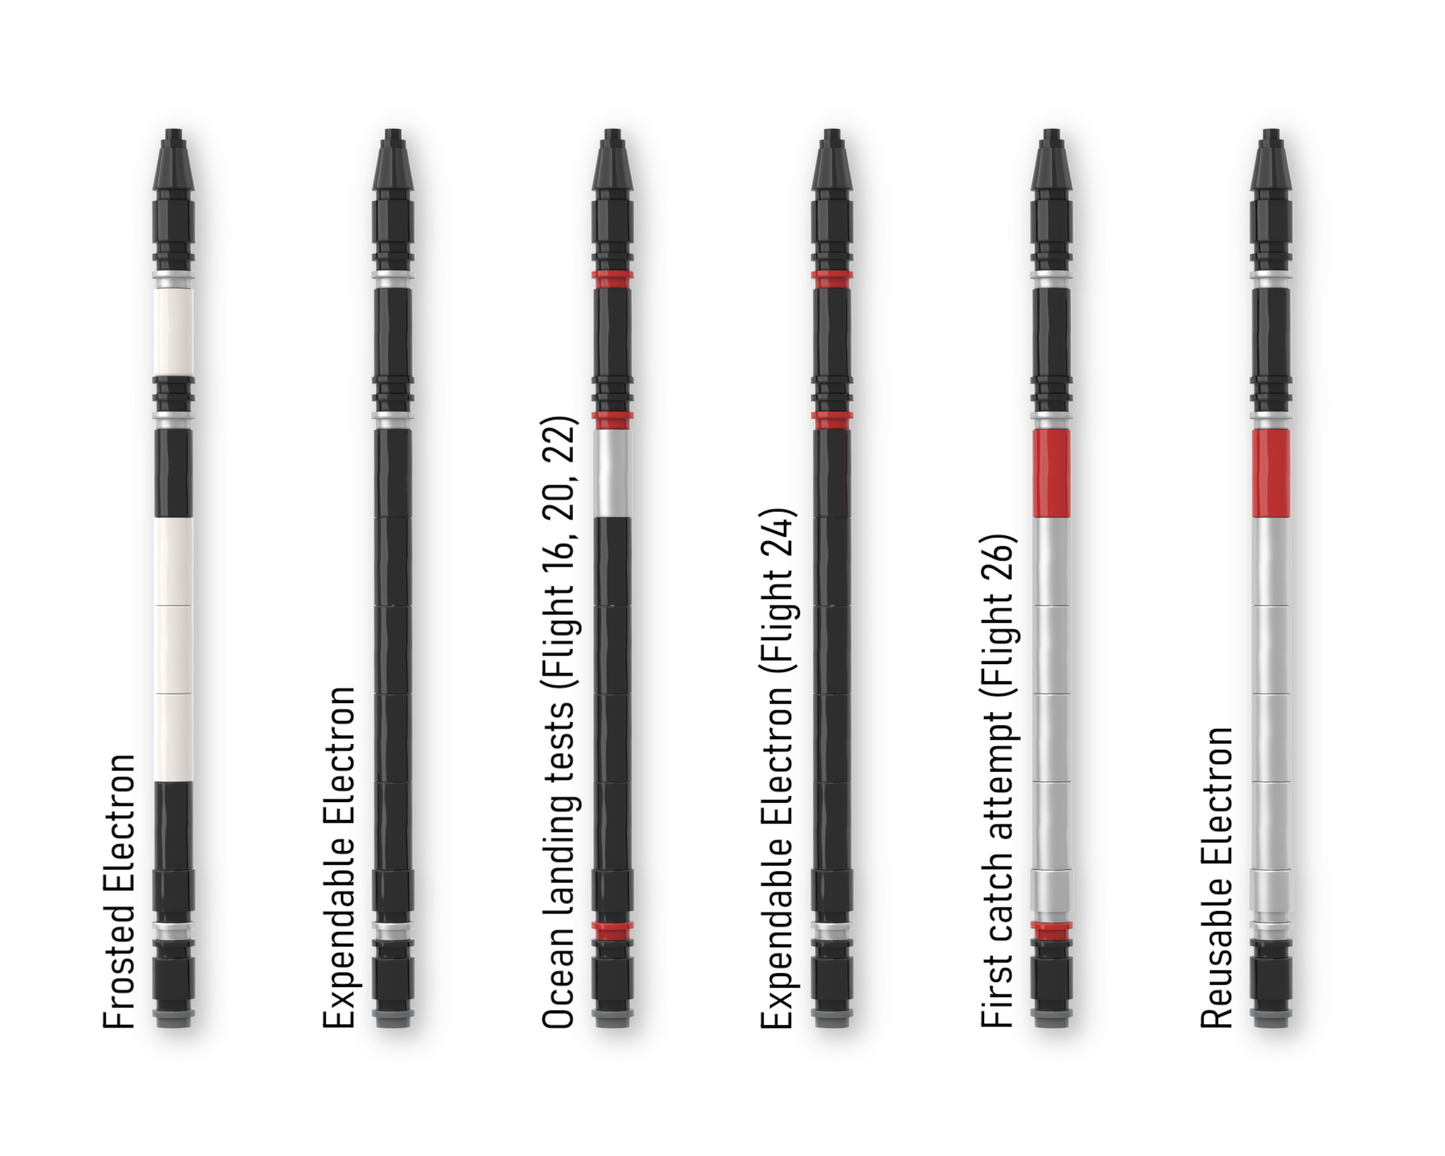
- The ability to build 6 variants of the Electron rocket based on its different appearances.
Learn more about Electron:
Electron is a partially reusable small-lift launch vehicle developed by Rocket Lab, based in New Zealand and the US. It launched on its maiden flight on 25 May 2017 and achieved orbit on its second flight on 21 January 2018. Electron launches from two pads at its Launch Complex 1 on Māhia Peninsula in New Zealand, and one pad at Launch Complex 2 at the Wallops Flight Facility in Virginia, US. In 2024 Electron is the third most launched rocket on Earth, and recently launched for its 50th time.
Although the rocket was designed to be expendable, Rocket Lab has recovered the booster multiple times and is working towards the capability of reusing it. For a time they also attempted to recover the booster by catching it mid-air with a helicopter, but this idea has since been abandoned.
Thank you for checking out my Electron & Launch Pad model and since these instructions are completely free, consider checking out my other models to support me so I can continue producing more designs in the future!
Collapsible content
Product specifications
Pieces and price:
This default display model consists of 212 pieces, costing approximately $25, while the 31 pieces required for only building the expendable variants cost approximately $2, while the reused variants cost around $4 (prices on Bricklink vary depending on region and current parts availability), see the buying guide in the section below.
Dimensions:
23 cm x 10 cm x 10 cm
9 in x 4 in x 4 in
Without the exhaust pillar the total height is 19,5 cm (7.5 in).
Variants
This product has four part lists:
1. Electron & Launch Pad [212 pcs] - The default model which is shown in the instructions, gives you the ability to display the default expendable Electron all-black or frosted.
2. Expendable Electron Only [31 pcs] - Includes the pieces to build the black expendable variants, including the one used for the ocean landing tests.
3. Reused Electron Only [28 pcs] - Includes pieces to build the metallic reused variants, both the standard one and the one used for the first catch attempt.
4. Separate Launch Pad [185 pcs] - Includes just the launch pad, has to be combined with either part list 2 or 3 for the full display with a rocket. Also includes four white cylinders to replace pieces on the rocket to represent its frosted appearance.
How to buy the bricks
I recommend buying the bricks required for the model from Bricklink.com, which is the largest online marketplace for LEGO® parts sellers.
There are other alternatives, like the official LEGO® Pick a Brick site, but they rarely have all the required pieces and it's often more expensive there.
The process to buy from Bricklink is easier than it seems, and is explained thoroughly in this step-by-step guide to help you:
- After buying the product, you need to download the folder named "Part lists" and unzip it.
- Next go to Bricklink.com and log in or create an account (it's very easy to set up).
- Click on your Profile tab in the top right corner and go to "My Wanted Lists".
- Click on the blue "Create New List" button and "Create Wanted List" after having given it a suitable name.
- Click on the upload button on the menu to the right and drag and drop the part list you want to buy. Then click the blue "Verify items" button, followed by the "Add to Wanted List" button at the bottom of the page.
Repeat step 5 for each part list you want to order. - [Optional step if you only want new pieces] Select all the pieces and change their "Condition" to "New" (needs to be repeated for each page). Note that this will lead to a higher price and the risk of some parts being unavailable. The default option gives you a price around the estimate and will include both new and used bricks.
- Next click the green "Buy All" button to get to the buy page. Here you should select the store location to your country or continent for lower shipping costs.
- Proceed by clicking the blue "Auto-select" button, uncheck the box in the pop-up and click "Start".
- This will give you a list of stores whose orders together will include all of the pieces in your wanted list. Confirm that all the pieces are included by clicking the "Wanted Items" tab to the left and control that there aren't any pieces left there.
- If you are happy with the selection and price, click "Create carts", followed by "Checkout" for each individual store and buy the pieces!
(If you are not happy with the price or if you're missing any pieces, you can click "Remove All" and redo the auto-selection with different settings like expanding the region your buying from)
If you're having any issues with ordering your bricks, don't hesitate to send us a message through the "Contact us" tab in the menu and we'll do out best to help!
Would love to build it but when I follow the BrickLink instructions it cost $50 (plus shipping!) which is too much for a small 212 piece set. I don't think I'll ever buy instructions for a bigger model because it's too much work and way too high of a cost to get the bricks. I wish I could just buy a set of bricks.
